This is a legacy project that we no longer support. An overhaul of this project is currently in development. If you have any questions or would like to use this product, please reach out to us at Screenly Support.
2016 product announcement
We are excited to announce an entirely new products named Screenly cast for WordPress. The goal is to turn WordPress, the world’s most popular CMS, into a simple content creation tool for digital signage.
Contrary to some other WordPress plugins or themes out there, the goal of Screenly Cast for WordPress is not to convert WordPress into a full-fledged digital signage CMS. Instead, the plugin is designed for simple content creation that can be used assets in your digital signage CMS.
Also, instead of trying to add support for zones, feeds and all kind of other features, we’ve focused on ensuring a good-end-user viewing experience.
(For more on why feeds, zones etc are bad for your deployment, take a look at Dave Hayne’s blog post Attention Spans Study Confirms Multi-Zone Digital Signage Layouts Bad Idea.)
Because the goal of Screenly Cast for WordPress is simplicity, it only supports:
- Pure text
- Text with an image next to it
- Image with a text overlay
Text with an image next to it
To give you a better idea of how the plugin works, let’s walk through an example where we create a post with an image next to a block of text.
Assuming you have installed and activated the plugin, just go ahead and create a new blog post and enter a short text. Then, upload an image and set it as the Featured Image as you can see below.
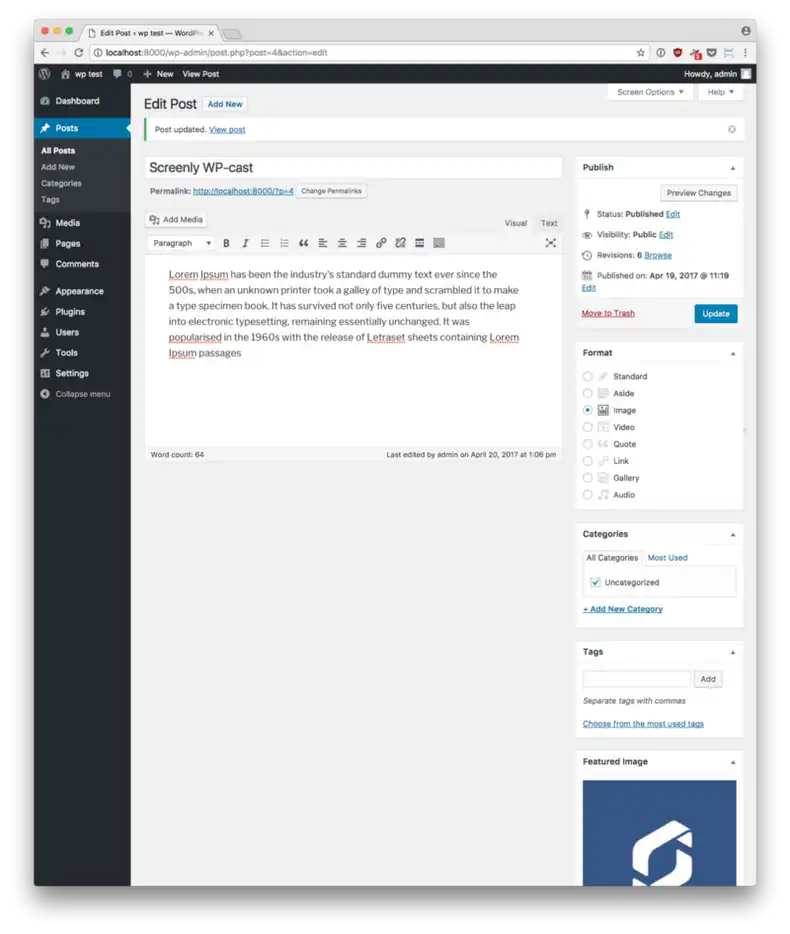
WordPress content creation
If you now navigate to this post, you will see something like this (assuming you are using the default theme):
The WordPress post without Screenly Cast for WordPress.
Wait, that doesn’t look very pretty nor very usable for digital signage. You’re absolutely right. This is because the page is rendered in the normal mode using the regular theme.
To activate Screenly Cast for WordPress, we need to append ?srly (or &srlyif you already have other query arguments) to the address. Once we’ve done this, the page will take a completely new shape:
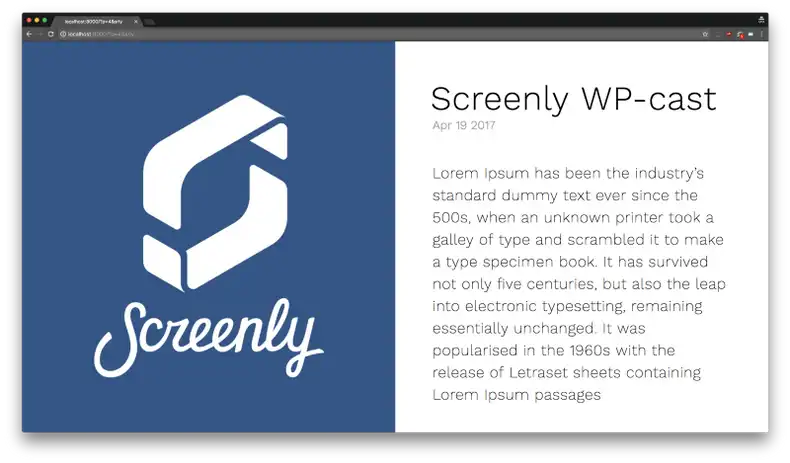
The WordPress post with Screenly Cast for WordPress.
Now that’s much better! Look how nice and clean that is. The text is large, and readable from afar. Super sleek!
Pure text
If we would like to remove the image and just display text, we can do that by simply not have a featured image set. The post above would then look like this:
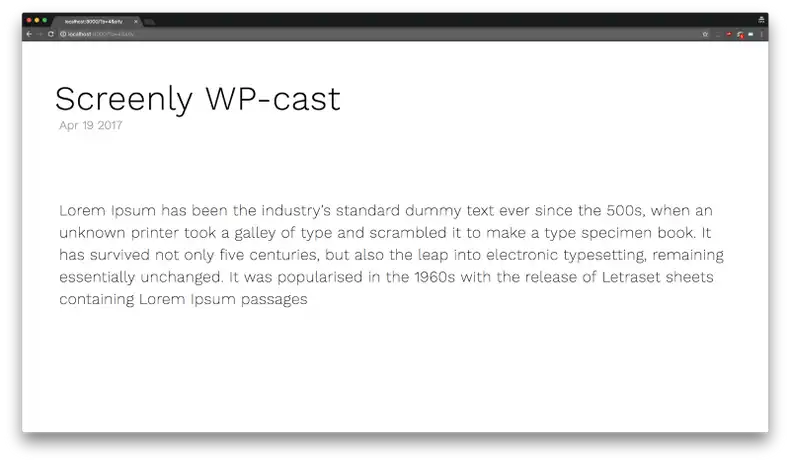
The WordPress post with Screenly Cast for WordPress enabled, but no featured image.
The screenshots above all show how the screen would look like on a screen with a resolution of 1920x1080, which is the most common resolution for digital signage these days.
However, some of our users are using Screenly on the Raspberry Pi Touch Screen, which is a 7” monitor with a resolution of 800x480. We don’t want to leave these guys hanging, so we added support for that too.
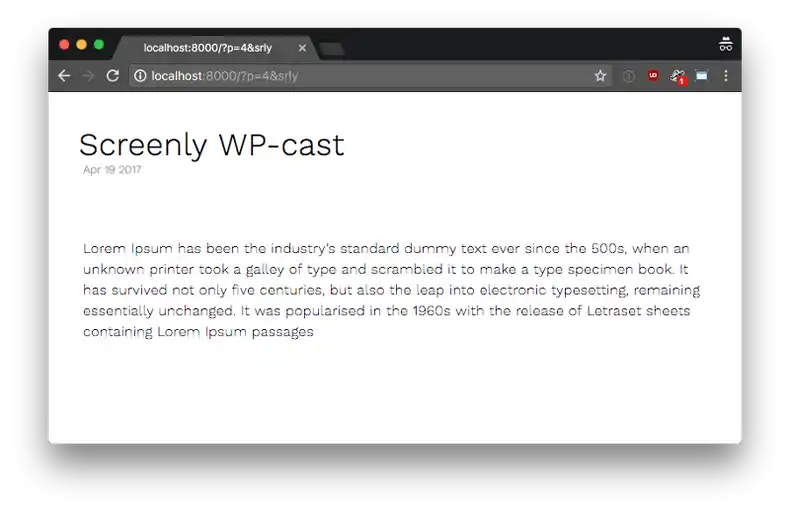
Screenly Cast for WordPress rendered in the resolution 800x480
Image with text overlay
Finally, let’s use an image. Simply navigate to the Media Library in WordPress, select or upload an image, and populate the title and caption and select View page attachment page. Append &srly to the end of the URL and you should get something that looks like this:
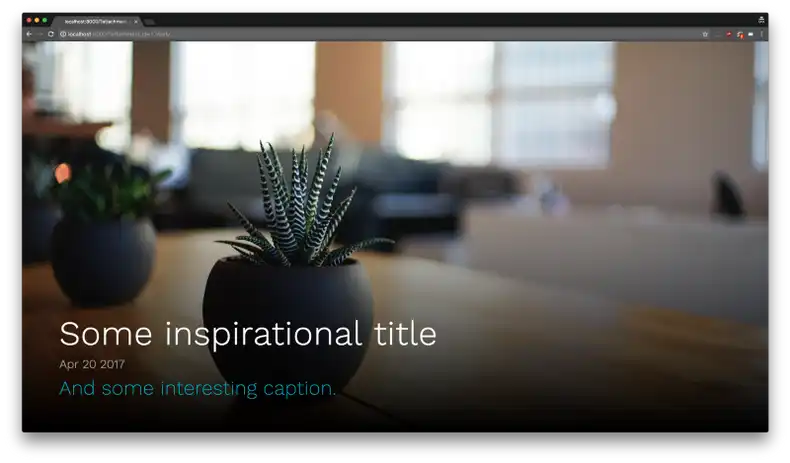
Screenly Cast for WordPress showing a media attachement
As you can see, with very little effort, you’re able to design beautiful slides for your screens.
We designed Screenly Cast for WordPress to work with both Screenly’s paid version and Screenly OSE, but it should work with many other digital signage players out there too.
One more thing. We have decided to make Screenly Cast for WordPress completely free and open source. To get started, simply head over to the plugins home on GitHub for more detailed installation instructions.

